WELCOME TO MOBILERELATION
Inspection Checks for iPhone
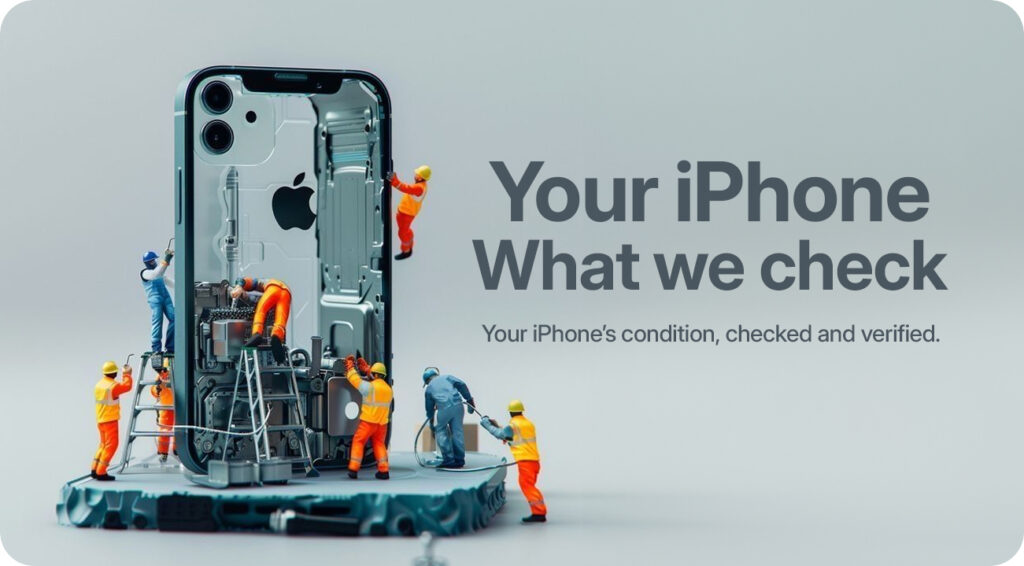
Inspection Checks for iPhone
Every iPhone goes through a full set of quality and functionality checks before it reaches you. From appearance to performance, we ensure each device meets our standards so you can buy with confidence.
Step 1: Verify iCloud Activation Status
Navigate to Settings → If the previous owner’s name appears at the top, iCloud is still active.
Important: Ensure the seller fully signs out of iCloud in your presence.
Step 2: Confirm Unlocked Carrier Status
Go to Settings > General > About
Look for “Carrier Lock” – it must read “No SIM restrictions.”
If it states “SIM locked,” the device is tied to a specific carrier.
Step 3: Examine the Body & Frame
- Inspect the stainless steel frame (or titanium edges on newer models) for deep dents, bends, or cracks.
- Inspect the bottom screws for any signs of rust.
- Press the Action Button – it should feel crisp and responsive.
Step 4: Screen Inspection
- With the screen off, check for scratches, chips, or cracks.
- Test for OLED issues:
- Open a blank page in Notes and zoom in on white. Look for discoloration, yellowing, or image retention (burn-in).
- Display a pure black image in a dim room. Ensure no uneven patches or glowing spots appear.
Step 5: Camera Lenses
Check both the rear camera array and front TrueDepth camera for:
- Cracks or scratches on the glass
- Cloudiness or debris inside the lens. Even minor flaws can significantly impact photo quality.
Step 6: Ports & Buttons
- USB-C Port: Look for lint, debris, or bent pins.
- Buttons: Test Volume, Action, and Side Buttons – each should offer clear tactile feedback.
- Alert Slider (if applicable): Should move crisply between positions without sticking.
Step 7: Touchscreen Responsiveness
Enter Diagnostics Mode or download a Touchscreen Test app from the App Store.
Swirl your finger across the entire screen to check for:
- Dead zones
- Phantom touches
- Unresponsive areas
Step 8: Face ID Test
Go to Settings > Face ID & Passcode and enroll your face.
Verify it works:
- In normal light
- In low light
- At different angles
Step 9: Camera & Audio Functionality
- Open the Camera app – test every lens (Ultra Wide, Main, Telephoto).
- Record a short video with audio to check the microphone.
- Listen for unusual sounds from Optical Image Stabilization.
- Test the flash and switch between photo/video modes.
Step 10: Audio & Call Quality
- Make a test call. Check earpiece, speakers, and microphone clarity.
- Play a song or video at high volume – ensure no distortion or buzzing.
- Test USB-C audio output with headphones if available.
Step 11: Connectivity Tests
- Wi-Fi: Connect to a network and load a webpage.
- Bluetooth: Pair with wireless earbuds or seller’s device.
- Cellular: Insert SIM; make a call and use mobile data.
- GPS: Open Maps with Location Services enabled.
- NFC: Check and test NFC.
Step 12: Battery Health
Go to Settings > Battery > Battery Health & Charging
Check Maximum Capacity:
- Above 90% → Excellent
- 85–90% → Good
- Below 85% → Consider replacement
Step 13: Sensor Check
- Proximity Sensor: Make a call and cover the top front sensor.
- Accelerometer/Gyroscope: Rotate screen; orientation should change smoothly.
- Ambient Light Sensor: Enable Auto-Brightness; screen should dim when covered.
Step 14: Final Verification & Reset
- Factory Reset: Go to Settings > General > Transfer or Reset iPhone > Erase All Content and Settings.
- Complete Setup Yourself: Go through setup until reaching the home screen.